Connecting Your Website
Surreal CMS connects to your website to read and write files. When you make changes, everything gets published directly back to your server in real-time.
This page will walk you through creating a new website and connecting it to Surreal CMS. If you don't have an account yet, you can sign up here for free.
Creating Your Website
There's one thing I'd like to mention up front: Surreal CMS isn't a website builder. If you don't have a website yet, you'll need to create one first. If you already have a website, feel free to skip ahead.
There are a lot of great apps you can use to create your website with, or you can code it by hand if that's your thing. You can also search online for a template. You'll find a lot of free and premium options out there.
The important thing is that you use an HTML template and not one that's designed for a specific app such as WordPress.
Try a demo!
Just want to try things out? Feel free to kick the tires on our demo site. Just look for the Touché demo in the dashboard after you create your account.
Hosting Your Website
Once you have your website design, it's time to upload the files to the Internet. Follow the instructions provided by your web hosting company. Most provide FTP or SFTP access to transfer files to and from your server. Make sure you keep those credentials nearby, because you'll need them again later.
If you need an FTP client to transfer files, here are some options:
- Transmit (Mac, proprietary — my personal favorite)
- FileZilla (Windows/Mac/Linux, open source)
- WinSCP (Windows, open source)
- Cyberduck (Mac, open source)
Hosting on Amazon S3
You can also host your website on Amazon S3, but that's a bit more complicated to set up. We'll save that for another tutorial.
Once your website is online, you're ready to connect it to Surreal CMS!
Connecting to Surreal CMS
Now that you're website is online, login to your Surreal CMS account (or create a new one). You'll be taken to the Sites page after you login.
From the sidebar, select New Site. You'll see the following form.
 Whoa, that's a big form! Don't worry, I'll walk
you through it.
Whoa, that's a big form! Don't worry, I'll walk
you through it.
| Name | The name you want to use for your website. (Only used in the CMS.) |
|---|---|
| URL | Your website's URL, e.g. https://example.com/ |
| Protocol | How we should connect to your website. (Ask your webhost if you're not sure.) |
| Host | Your server's hostname. If your website is https://example.com, the host will
usually be example.com. This can also be an IP address. |
| Port | The port we should use to connect to your server. You can leave this blank unless you've configured your server to use a nonstandard port. |
| Username | The username to use when connecting to your server. |
| Password | The password to use when connecting to your server. |
| Home Folder | The folder that contains your homepage. Use the Browse button to navigate to your
homepage to make sure you have the right location. Important! This needs to point to the same folder as your URL. If you're creating a subsite, e.g. https://example.com/subsite, then your home folder needs to point to
the subsite folder on your server. |
| Upload Folder | The folder that uploaded files will be stored in. Users will be able to upload and delete anything
inside this folder, so don't select one that contains webpages or other important
files. It's usually a good idea to create a folder called uploads specifically for this purpose. |
Once you've filled out the form, select Test Connection from the sidebar to make sure everything works.
If all goes well, you'll see Connection successful!
Need our IP address?
In some cases, access to your server may be restricted by your web host or a
firewall. You can usually get around this by whitelisting our IP address. The latest version of Surreal
CMS uses 162.243.9.115. The previous version of Surreal CMS (i.e. accounts created
before April 2019) used 45.55.90.199.
Trouble connecting with FTPS?
If you're having trouble connecting with FTPS, make sure server supports TLS 1.2. Older versions of TLS are no longer supported.
Enabling Pages
Now that you're all connected, it's time to tell Surreal CMS which pages you want to be able to edit. Select your site from the Sites page, then select Enable Pages from the sidebar.
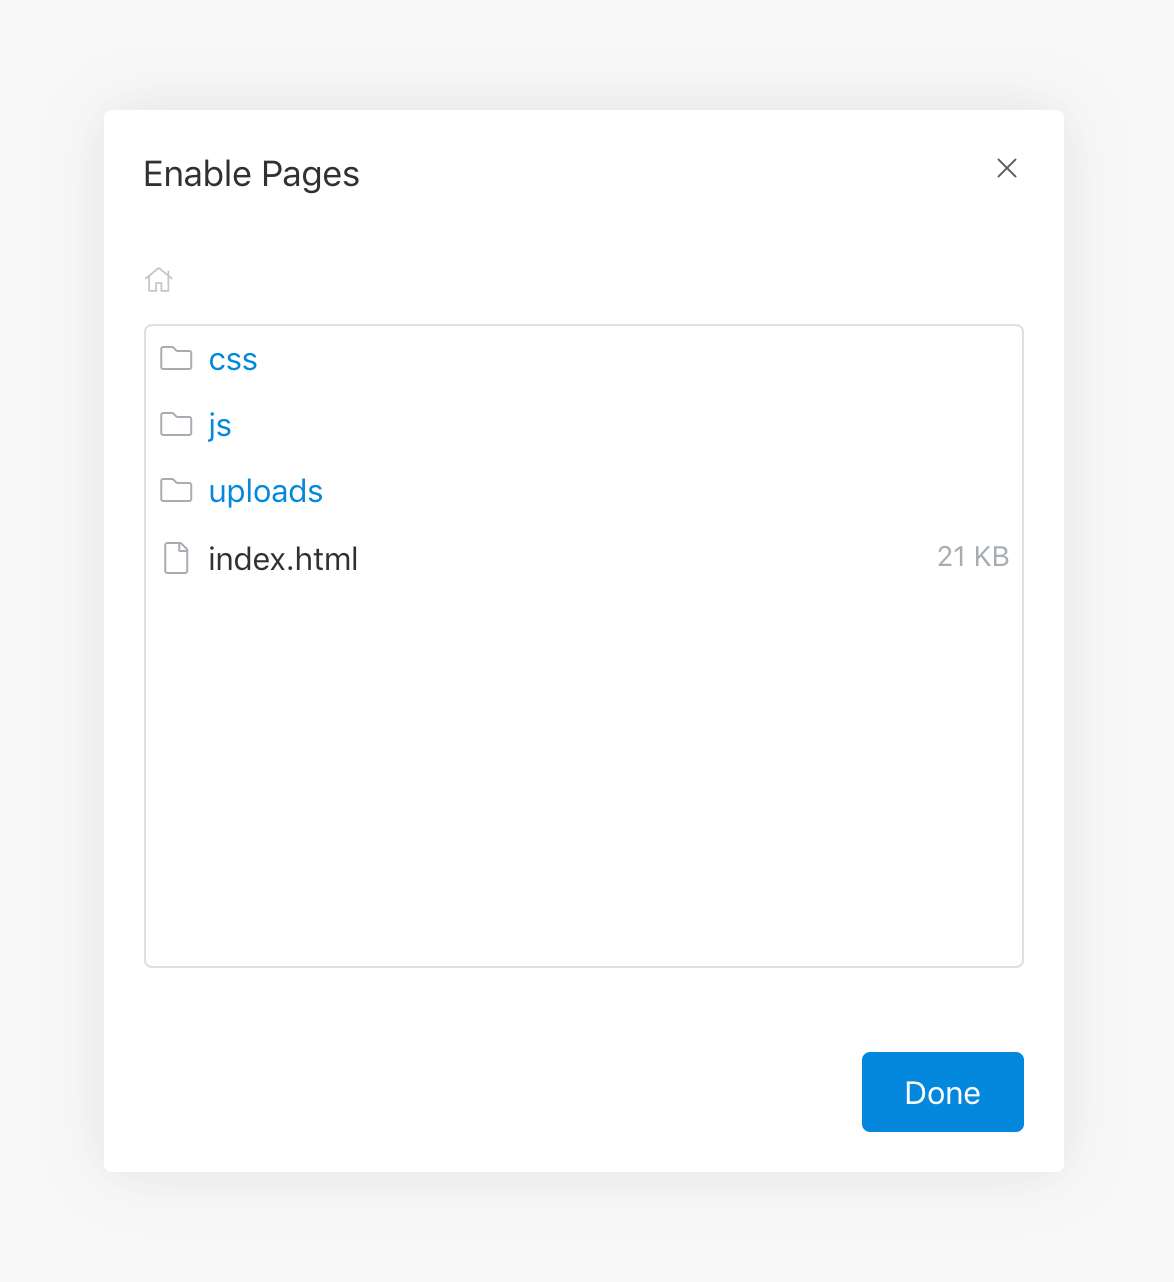 You'll see a dialog appear with a list of pages. Click
on the ones you want to edit. In this case,
You'll see a dialog appear with a list of pages. Click
on the ones you want to edit. In this case, index.html is our homepage so we'll choose
that one. Close the dialog when you're done selecting pages.
Now you're ready to tell Surreal CMS what parts of the page you want to edit.
Defining Content Regions
Great! You're all connected and you've enabled some pages. Now let's edit one! Click a page in the list and you'll probably see a notice telling you that no content regions have been defined.
That's because you haven't told Surreal CMS what you want to edit. By design, we don't make your entire page editable — that would be disastrous, especially if you handed it off to a client! By opting in, you can ensure your design stays intact and that only certain parts of the page can be changed.
Let's define a content region so we can edit the page. From the
sidebar, select Edit Source. You'll see the page's HTML appear in the editor.
Find something you want to make editable and give it a unique id and the
cms-editable class:
<div id="my-content" class="cms-editable">
  ...
</div>
Now hit Save Changes. Notice that you can edit the element you just tagged! 🎉
You can have as many content regions as you want on a page and you can make just about anything editable. Surreal CMS will give you the right set of tools based on the type of element you've tagged. For more info on various types of content regions, refer to this page.
Further Reading
Now that we've covered the basics, you'll probably want to know what else you can do with Surreal CMS. Here are some things to explore once you've started editing your first website.
If you're having trouble connecting, feel free to contact us for help!