

Visual editor
The visual editor is where you'll spend most of your time editing. You'll see a copy of your webpage where you can edit metadata and any content regions you've defined.
To open the visual editor, choose the website you want to work with and then select a page to edit.
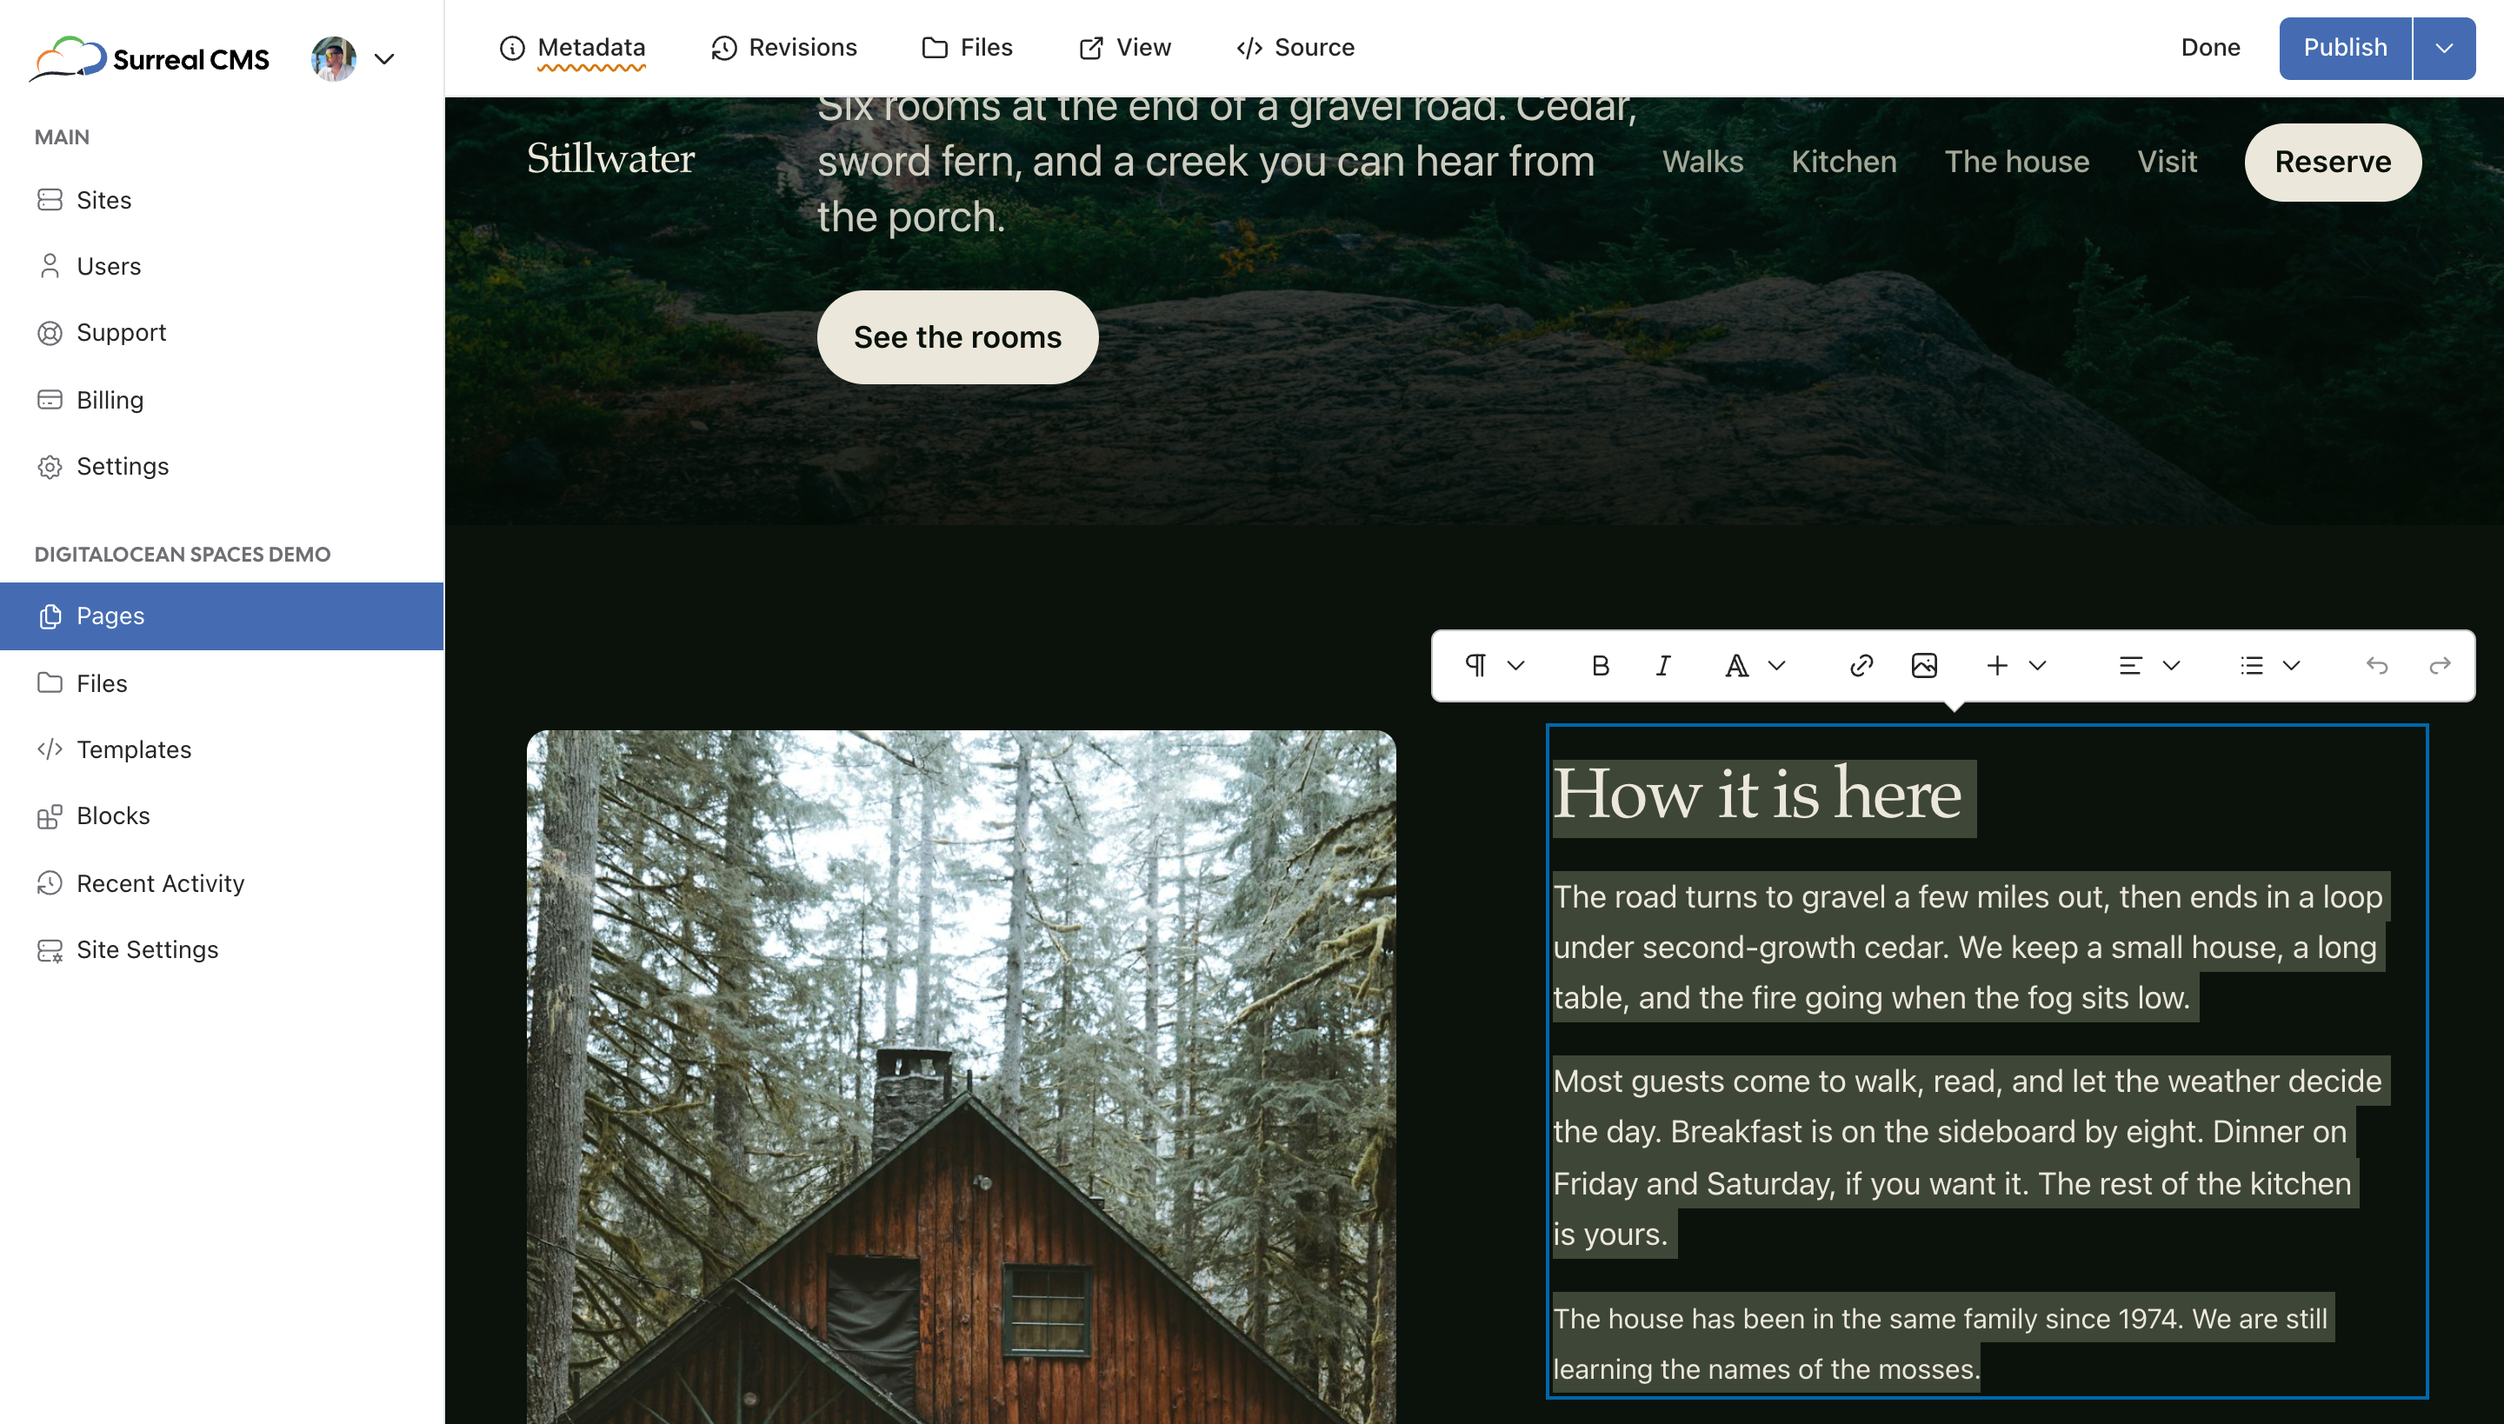
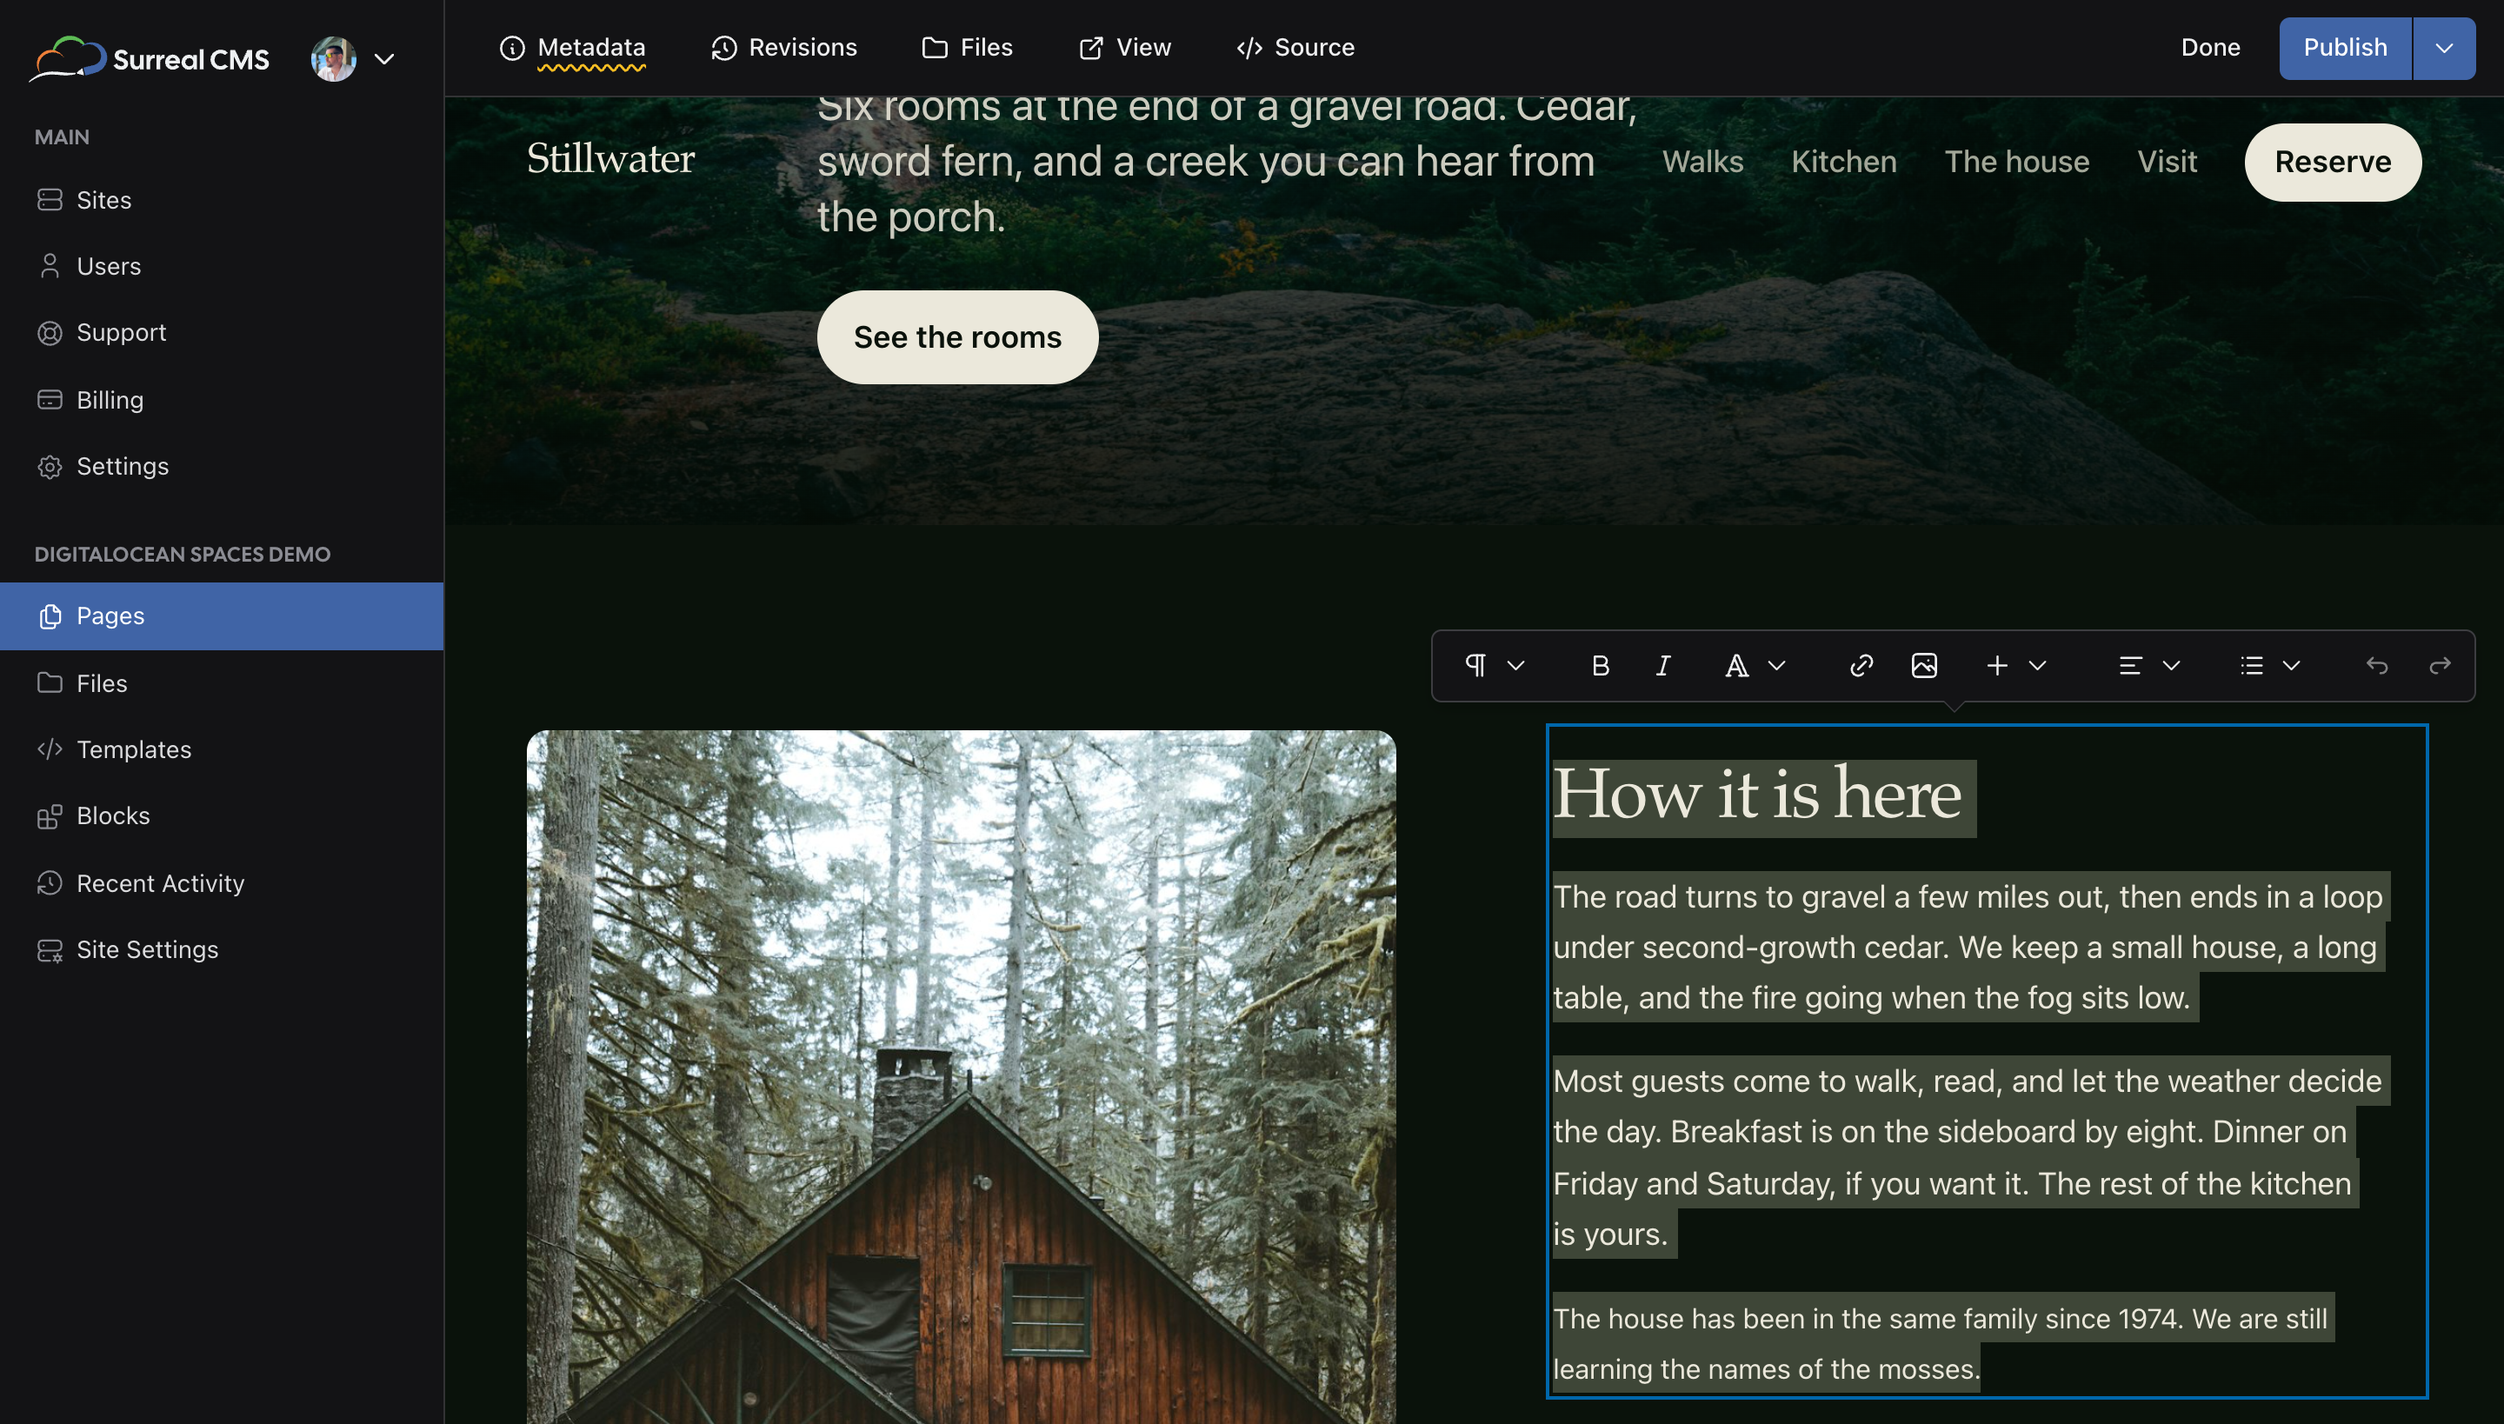
If you're working with a mouse, you'll see guides appear when you hover over content regions. To select a content region, just click or tap on it.
Some content regions, such as block and inline regions, will accept focus and provide a toolbar. Others will trigger a panel that appears on the right-side of the screen.
When you're done editing, select Publish at the top of the editor to publish your changes back to the server. The same menu lets you save a draft or schedule the changes for later.
Focus mode
Focus mode gives the page the whole window. The sidebar and header are hidden, so you see your webpage the way visitors do, and a small floating toolbar holds the editor's tools and Publish. It's the best way to edit on a small screen, or to check how a long page reads while you work on it.
To turn it on, select Focus Mode at the top of the editor, or press Cmd+\ (Ctrl+\ on Windows). To turn it off, select Exit Focus Mode in the toolbar, press the same shortcut, or press Esc. While you're typing in a content region, that shortcut removes formatting instead, so click outside the region first.
Focus mode stays on as you move between pages, and it's still on the next time you open the editor. If the toolbar covers something you're working on, drag it out of the way. It snaps to the center of the window, turns vertical against the left or right edge, and stays where you put it for each site.
Formatting text
In block regions, sections can be formatted as headings, paragraphs, preformatted text, and blockquotes. The following elements can be produced using the paragraph menu in the toolbar.
| Option | Element | Description |
|---|---|---|
| Heading 1–6 | <h1> – <h6> |
A standard heading |
| Paragraph | <p> |
A standard paragraph |
| Preformatted text | <pre> |
A block of text that leaves whitespace intact and is usually rendered with a monospace font |
| Blockquote | <blockquote> |
A long quotation |
In block, inline, and link regions, you can add formatting such as bold, italic, strikethrough, etc. The resulting markup is comprised of semantic HTML5 elements.
| Option | Element | Description |
|---|---|---|
| Bold | <strong> |
Strong or important text |
| Italic | <em> |
Emphasized text |
| Strikethrough | <del> |
Deleted text |
| Superscript | <sup> |
Superscript text |
| Subscript | <sub> |
Subscript text |
| Code | <code> |
Computer code |
| Highlight | <mark> |
Marked or highlighted text |
| Small print | <small> |
Small text, such as copyright, legal, and side comments |
When you save, <b> and <i> elements become
<strong> and <em>.
Tip
For best results, make sure your stylesheet has rules that target all possible elements.
Links
The markup for links is pretty basic.
<a href="index.html">Home</a>
When you check Open in a new window, the link gets target="_blank" and
rel="noopener". A title that's already in your markup is kept.
Images
The markup for images depends on whether or not the image has a caption.
Images with captions will use the <figure> element.
<figure class="image">
  <img src="image.jpg" alt="Description">
  <figcaption>Caption</figcaption>
</figure>
Images without captions will use the <img> element.
<img src="image.jpg" alt="Description">Tip
When an image is aligned, it will receive the align-left, align-right, or
align-center class. Images without captions also get an inline float or
centering style. Images with captions only get the class on the <figure>, so they
won't move until your stylesheet styles figure.align-left,
figure.align-right, and figure.align-center.
Embeds
Embeds add content from other websites to a page: videos, social posts, maps, players, and anything else that comes with embed code. The markup used depends on the source of the embed. There are two ways to insert one.
The easiest is to paste a link. Choose Link in the Embed Panel and paste the address of a YouTube or Vimeo video, a post on X, or a page on any other site that supports oEmbed. We fetch the embed code for you. Pasting a link straight into the page does the same thing.
If the site doesn't support oEmbed, choose Embed Code and paste the code from the site's Share or Embed button. It's added to the page as-is.
Embeds use the following markup. The embed code inside is kept exactly as you entered it.
<div class="cms-embed">
  <!-- Embed code here -->
</div>
Embed code usually comes with a fixed size, so Fit to width is on by default. It stretches
the embed to the full width of its container at its original proportions by adding an inline style to the
embed's <iframe> or <video>, and leaves the rest of the code
alone. Turn it off to keep the code exactly as entered. Links pasted straight into the page are fit to width
too.
Tables
Tables are useful for displaying tabular data. New tables will use the following markup.
<table>
  <tbody>
    <tr>
      <td></td>
      <td></td>
      <td></td>
    </tr>
    <!-- more rows -->
  </tbody>
</table>
Percentage units will be used when a table is resized. This ensures the table remains responsive even after resizing.
Anchors
Anchors let you link to a specific part of a page. Put the cursor in a heading or paragraph and choose
Anchor, and its name becomes the element's id. Anchored blocks are marked in the margin
while you edit, and clicking a marker lets you rename or remove the anchor.
<h2 id="anchor-name">Heading</h2>Code blocks
Code blocks are special elements that contain one or more lines of computer code. Surreal CMS uses the following W3C recommendation for structuring code blocks.
<pre class="cms-code"><code class="language-javascript">console.log('Hello');</code></pre>
Code blocks are rebuilt when you save. Only the cms-code class stays on the
<pre>, and only the language-* class stays on the <code>.
Tip
You can use a third-party syntax highlighter to decorate code blocks. Learn more
Galleries
Galleries are collections of images that you can add to any block region. You can make galleries interactive using JavaScript libraries such as Lightbox and Fancybox. Galleries use the following markup.
<div class="cms-gallery">
  <!-- Gallery images here -->
</div>
Gallery images must use the syntax below. Avoid adding additional elements, classes, and attributes, as they will be removed when the gallery is parsed.
<a href="uploads/image.jpg">
  <img
    src="uploads/thumbnails/image-256x256.jpg"
    alt="Description"
    data-caption="Caption"
  >
</a>
Thumbnails are automatically generated when images are added to the gallery. They will be stored in the
[uploads]/thumbnails/ folder on your server. To make them, Surreal CMS fetches each image from
your live website, so your upload folder must be publicly reachable.
Galleries are very similar to gallery regions, but there
are differences in how they're configured. The following data- attributes can be used
on the containing content region to control how thumbnails and other gallery features work.
| Attribute | Description | Default |
|---|---|---|
data-gallery-thumbnail-width |
The desired width of thumbnails. | 256 |
data-gallery-thumbnail-height |
The desired height of thumbnails. | 256 |
data-gallery-thumbnail-resize |
How to resize thumbnails.fit – proportionally resize thumbnails to be no
larger than the specified dimensions.trim – proportionally resize thumbnails
to the exact dimensions and trim the remaining overflow.
|
fit |
data-gallery-captions |
Captions are stored in each image's data-caption attribute. They're intended to
be used with lightbox-style galleries, and your gallery script has to display them. If you don't
need them, set this to false.
|
true |
data-gallery-links |
A link to the full size image will be wrapped around each thumbnail. If you don't want your
thumbnails wrapped in links, set this to false.
|
true |
data-gallery-element |
The gallery's element: div, ol, or ul. In lists, each
image is wrapped in <li>.
|
div |
Section breaks
You can insert section breaks into your document using the Insert menu. A section break is comprised of the following markup.
<hr>
Historically, <hr> stood for horizontal rule and it was used to display a
horizontal line on the page. The element was redefined in HTML5, and is now the semantically appropriate
element for adding
thematic breaks in content.